Ever tried to sing along to a track at home and realized your voice sounds like it’s coming from inside a tin can? That’s usually not your fault. It’s the gear. For professional singers and serious hobbyists alike, the difference between a fun night and a painful one often comes down to three things: what you hear in your ears (monitors), how those signals are balanced (the mix), and how your voice is captured (mics). Alli Starr is a vocal coach and live performance specialist who helps artists build reliable, portable audio setups for intimate venues and home studios. Her approach strips away the complexity of large-scale concert production and focuses on what actually matters when you’re standing on a small stage or in a living room. The goal here isn’t to build a million-dollar studio. It’s to create a setup that lets you hear yourself clearly, keeps the music balanced, and captures your voice without adding noise. Let’s break down the specific components Alli recommends and why they work together so well.
The Heart of the System: The Audio Mixer
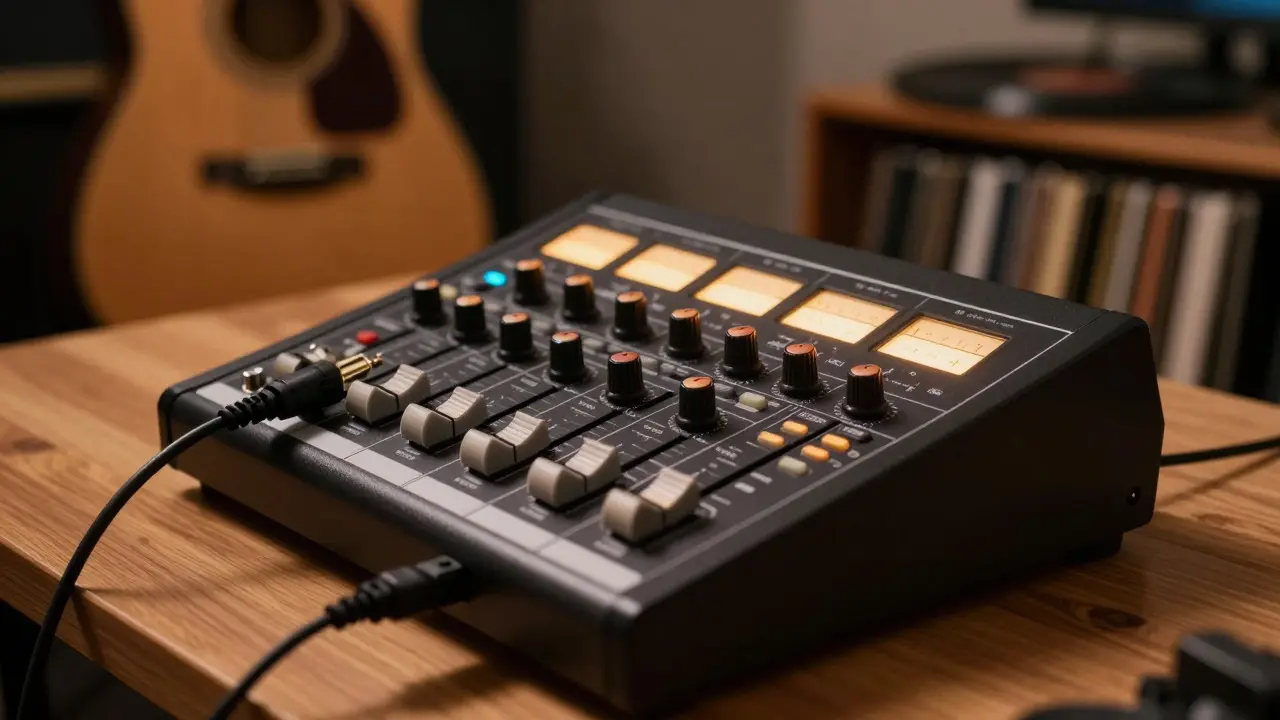
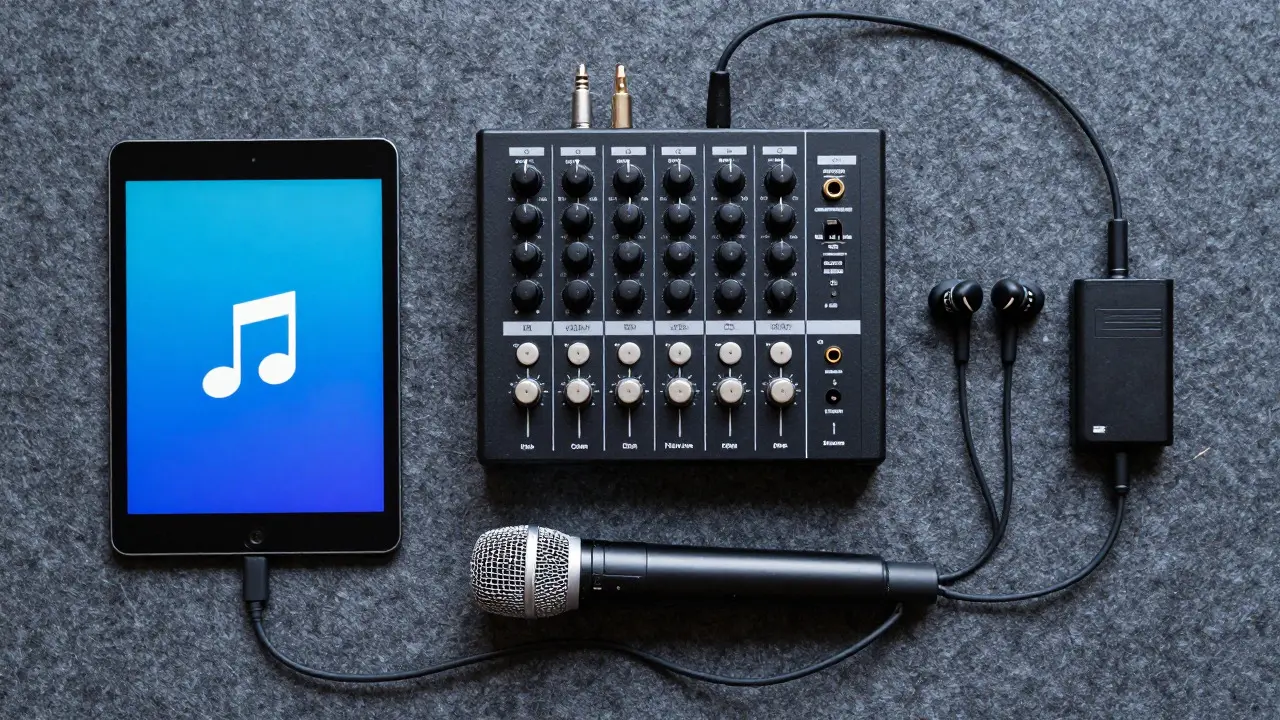
Before we talk about microphones or speakers, we need to talk about the brain of the operation: the Audio Mixer is a device that combines multiple audio sources, adjusts their volume and tone, and sends them to an output destination. For a typical karaoke setup, you don’t need a massive 32-channel console. In fact, those can be overwhelming and prone to signal degradation if not managed correctly. Alli suggests a compact digital mixer with at least four channels. Why four? You typically have two microphone inputs (one for the singer, one for a backup vocalist or instrument) and two line inputs (for the playback device, like an iPad or laptop, and potentially a direct input for a keyboard or guitar).
Digital mixers have become the standard for this use case because they offer built-in effects. This is crucial for karaoke. You don’t want to run your voice through a separate reverb unit; you want the effect processed right at the source. Look for a mixer that includes high-quality reverb, delay, and compression presets. Compression is particularly important because it evens out the dynamic range of your voice, ensuring that soft verses aren’t lost and loud choruses don’t clip the system. When selecting a mixer, check the sample rate. A minimum of 48kHz is standard, but higher rates provide cleaner processing for digital effects.
Hearing Yourself: The Role of Monitors
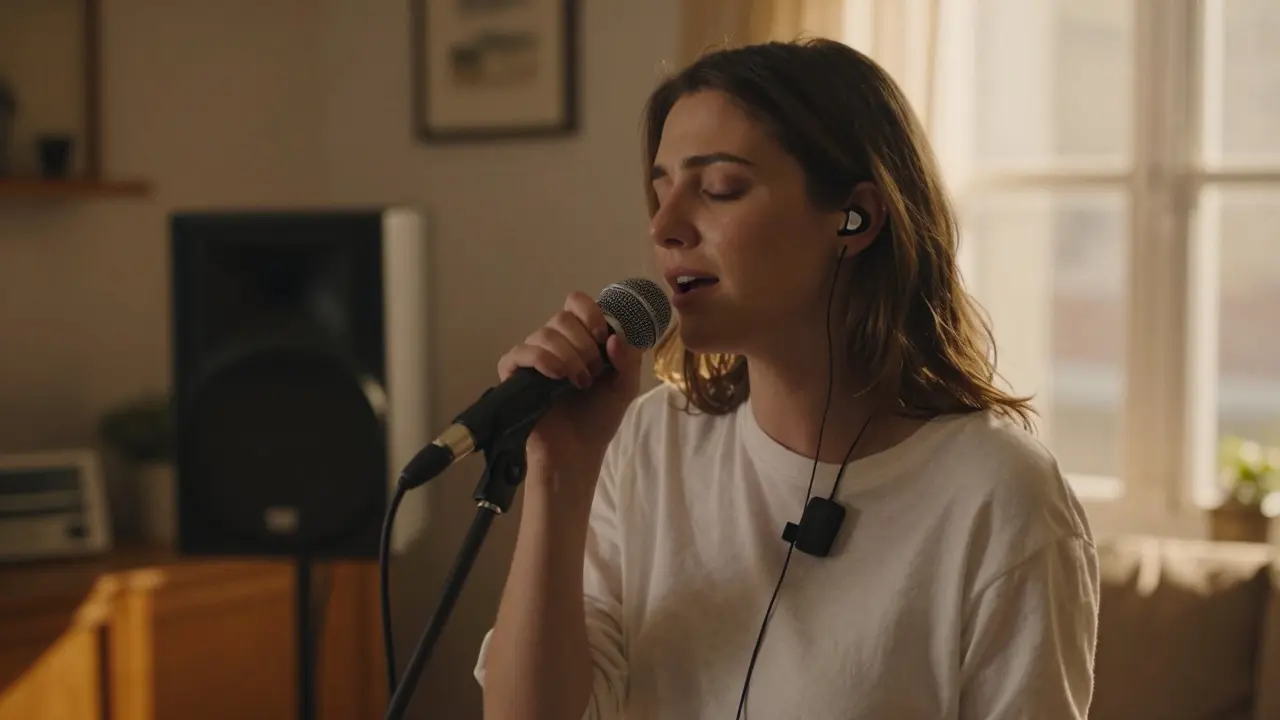
This is where most home karaoke setups fail. You blast the music through a Bluetooth speaker, but you can’t hear your own voice over the track. This leads to pitch issues and confidence drops. The solution is Vocal Monitors, which are audio outputs specifically designed to let performers hear themselves and their backing tracks in real-time. There are two main types: wedge monitors and in-ear monitors (IEMs).
Wedge monitors are the traditional floor-standing speakers you see on stages. They are easy to set up and don’t require cables running up your legs. However, they take up space and can bleed into the main PA system if placed incorrectly. In-ear monitors, on the other hand, sit directly in your ear canal. They provide isolation from external noise and allow for a very precise, personalized mix. For a dedicated karaoke night, IEMs are superior because they prevent feedback loops entirely. If you’re new to IEMs, start with a universal fit pair rather than custom molds. They are significantly cheaper and still offer 90% of the benefit. Just remember: the monitor mix is not the same as the audience mix. Your monitor should emphasize your voice more heavily than the main speakers do, helping you stay locked in rhythm and pitch.
Capturing the Voice: Microphone Selection
Not all microphones are created equal, and using the wrong one can make even a great singer sound muddy. For live karaoke, you generally want a Dynamic Microphone, which is a type of microphone that uses electromagnetic induction to convert sound waves into electrical signals, known for durability and low background noise pickup. Dynamic mics are robust, handle high sound pressure levels without distorting, and reject ambient room noise better than condenser mics. Condenser mics, while offering higher sensitivity and detail, are too fragile for casual use and pick up every creak of the chair or hum of the refrigerator.
When choosing a dynamic mic for karaoke, look for a cardioid polar pattern. This means the mic picks up sound primarily from the front and rejects sound from the sides and rear. This is essential for minimizing feedback from the main speakers. Brand-wise, you don’t need to spend thousands. Mid-range options from reputable manufacturers offer excellent clarity and durability. The key attribute to test is the frequency response. A good karaoke mic should have a slight boost in the mid-range (around 2-5 kHz) to help vocals cut through the instrumental track without sounding harsh.
Building the Signal Chain
How do these pieces connect? Understanding the flow of audio helps you troubleshoot issues quickly. Here is the standard signal chain for a basic karaoke setup:
- Source Device: An iPad, laptop, or phone playing the karaoke track via a digital audio workstation (DAW) or streaming app.
- Mixer Input 1 (Line): Connects to the Source Device via a 3.5mm-to-XLR cable or USB interface. This carries the instrumental track.
- Mixer Input 2 (Mic): Connects to the Dynamic Microphone via an XLR cable. This carries the vocal signal.
- Mixer Processing: The mixer applies gain staging, EQ, and effects (reverb/compression) to both channels.
- Mixer Output A (Monitor): Sends a blend of Vocals + Instrumental to the Vocal Monitors/IEMs.
- Mixer Output B (Main): Sends a balanced blend of Vocals + Instrumental to the Main PA Speakers.
A common mistake is sending the dry vocal signal to the monitors without any reverb. While some purists prefer this, for karaoke, a touch of reverb in the monitor helps the singer feel connected to the musical space. Just keep it subtle-too much reverb in the ears can cause timing issues.
Comparison of Monitor Options
Choosing between wedges and in-ears depends on your environment. Here is a quick breakdown to help you decide:
If you are sharing the setup with friends who rotate on mic, wedges might be easier to manage. If you are the primary singer and want consistent, private monitoring, invest in IEMs. The clarity difference is significant, especially in noisy environments like bars or open-plan homes.
Troubleshooting Common Issues
Even with the right gear, problems arise. Here are the three most frequent issues and how to fix them:
- Feedback Screech: This happens when the mic picks up sound from the main speakers and amplifies it back into itself. Fix: Lower the main speaker volume, move the mic further from the speakers, or use a parametric EQ on the mixer to notch out the specific frequency causing the loop (usually around 2-4 kHz).
- Muddy Vocals: If your voice sounds boxy or unclear, you likely have too much low-end energy. Fix: Use the EQ on the mixer to roll off frequencies below 100Hz. This removes rumble and allows the mids to shine.
- Volume Imbalance: The music drowns out the voice during quiet parts. Fix: Use a compressor on the vocal channel. Set the ratio to 3:1 or 4:1. This automatically lowers the volume of loud peaks and boosts quieter sections, keeping the vocal level consistent throughout the song.
Remember, the goal is balance, not just volume. A good mix feels effortless. You shouldn’t have to strain to hear yourself. If you find yourself leaning toward the monitor or turning the mic closer to your mouth constantly, your gain structure is likely off. Start with the faders at unity (0dB), then adjust based on the actual sound in the room.
Frequently Asked Questions
Do I need a wireless microphone for karaoke?
No, wired microphones are often preferred for reliability. Wireless systems introduce potential interference, battery anxiety, and latency. Unless you need to move around a large stage, a wired dynamic mic connected via XLR provides the cleanest signal and zero dropouts.
What is the best file format for karaoke tracks?
Use lossless formats like WAV or AIFF if possible, as they preserve full audio quality. If storage is a concern, high-bitrate MP3s (320kbps) are acceptable. Avoid low-bitrate files (128kbps or lower) as they introduce compression artifacts that can make vocals sound thin or distorted when amplified.
Can I use a smartphone as a mixer?
Yes, apps like GarageBand or dedicated mixer apps can work for simple setups. However, they lack the physical controls needed for real-time adjustments during a performance. A hardware mixer allows you to tweak levels instantly without looking at a screen, which is crucial when you’re singing.
How much reverb should I add to my vocals?
Start with a small amount, around 10-20% wet mix. Reverb adds space but can also blur your timing. If you feel like you’re singing behind the beat, reduce the reverb tail length. Plate reverb is generally smoother for vocals than hall reverb, which can be too large for intimate settings.
Is a pop filter necessary for karaoke?
It is helpful but not strictly mandatory for dynamic microphones. Pop filters reduce plosive sounds (the 'P' and 'B' bursts) that can cause thumping in the audio. Since dynamic mics are less sensitive than condensers, the impact is reduced, but a cheap foam windscreen attached to the mic grille is a low-cost way to minimize these issues.