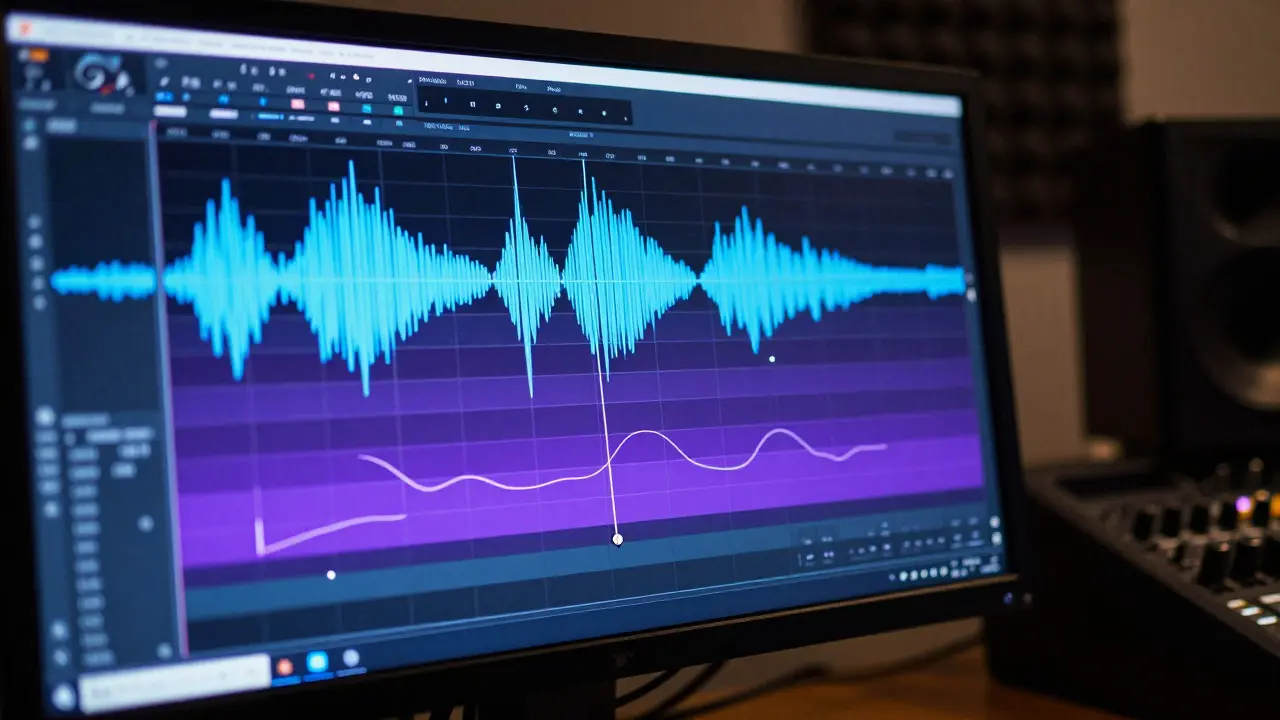
Imagine watching a video where the cut happens exactly on the snare hit. Your brain feels a tiny jolt of satisfaction. Now imagine the same shot, but the cut lands two frames late. The energy dies instantly. This is the core problem Alli Starr solves in her post-production workflow that prioritizes rhythmic alignment over static composition. As a leading figure in modern visual storytelling, Starr has moved away from traditional timeline-based editing toward a method where audio dynamics dictate visual pacing.
For most editors, the process starts with a script or a storyboard. For Starr, it starts with the waveform. If you are trying to replicate this style, you need to understand that the beat is not just background noise; it is the skeleton of the edit. This approach requires a shift in how you perceive time. You stop thinking in seconds and start thinking in bars and subdivisions. The goal is to make the viewer feel the music physically through their eyes, not just hear it through their ears.
The Core Philosophy: Audio-First Editing
Traditional editing often treats audio as an afterthought. You lay down the video, then mix the sound. Starr flips this entirely. In her studio, the first step is always analyzing the track for structural changes. She looks for drops, bridges, verses, and outros. Each section has a distinct emotional weight and rhythmic density. A verse might have sparse percussion, allowing for longer, breathing shots. A drop, however, demands rapid-fire cuts that sync with every kick drum.
This isn't just about hitting the beat. It's about matching the *texture* of the sound to the *motion* of the image. If the bassline is heavy and slow, the camera movement should be smooth and deliberate. If the hi-hats are fast and erratic, the cuts should be sharp and staccato. This creates a subconscious harmony that makes the video feel cohesive. When the audio and visual elements fight each other, the viewer feels uneasy, even if they can't pinpoint why. When they align, the experience becomes immersive.
Analyzing the Waveform: Finding the Pulse
Before opening a non-linear editing system (NLE), Starr spends significant time in a Digital Audio Workstation (DAW). She uses software like Ableton Live or Pro Tools to map out the song's structure. She marks specific points where the rhythm changes. These markers become her editing grid. Instead of dragging clips around randomly, she snaps them to these predefined points.
Here is a practical breakdown of how she identifies these key moments:
- Transients: These are the sharp attacks of sounds like drums or plucked strings. They provide clear visual cues for cuts.
- Sustained Notes: Long chords or pads suggest holding a shot longer to let the emotion settle.
- Silence: Gaps in the music are powerful tools. They allow for a single, impactful image to breathe without distraction.
- Dynamics Shifts: Sudden increases in volume or intensity signal a need for faster pacing or higher contrast visuals.
By mapping these elements first, you remove guesswork from the editing process. You aren't deciding whether a cut feels right based on intuition alone; you are verifying it against the audio data. This scientific approach ensures consistency across the entire project, which is crucial for professional-grade work.
Motion Graphics and Rhythm Sync
Visuals don't just exist in live-action footage. Motion graphics play a huge role in Starr's edits. Text overlays, transitions, and animated elements must also respect the beat. A title card that fades in slowly during a fast-paced chorus will feel sluggish. Conversely, a quick flash of text during a quiet bridge can feel jarring.
Starr uses motion graphics to emphasize rhythmic accents. For example, if there is a clap track in the music, a corresponding flash or zoom in the video reinforces that accent. This technique is known as "syncing effects." It creates a feedback loop where the audience expects the visual pop because they heard the audio pop. Over time, this trains the viewer's brain to anticipate the next beat, increasing engagement and retention.
The speed of the animation itself matters. Linear easing (constant speed) works well for steady beats. Exponential easing (accelerating or decelerating) works better for builds and drops. Matching the easing curve of your animation to the dynamic envelope of the sound is a subtle but critical detail that separates amateur edits from professional ones.
Common Pitfalls to Avoid
Even experienced editors make mistakes when syncing to music. One common error is cutting too frequently. Just because the beat is fast doesn't mean you need a cut every eighth note. Sometimes, holding a shot for two beats creates more tension than cutting every single one. Trust the hold. Let the audience sit with the image while the music drives the energy underneath it.
Another mistake is ignoring the vocal melody. While the drums set the pace, the vocals often carry the emotional narrative. If the singer is delivering a heartfelt line, a rapid-fire montage of random clips can distract from the message. In these moments, prioritize clarity and emotion over rhythmic complexity. The edit should serve the story, not just the tempo.
Finally, don't forget the transition. Hard cuts are effective, but cross-dissolves or whip pans can smooth out rhythmic gaps. Use transitions to bridge sections with different tempos. For instance, moving from a slow ballad section to a high-energy chorus can be eased into with a gradual ramp-up in visual complexity rather than an abrupt jump.
Tools of the Trade
To achieve this level of precision, you need the right tools. While any NLE can technically handle this workflow, certain features make the process significantly smoother.
| Feature | Adobe Premiere Pro | Final Cut Pro | Ableton Live |
|---|---|---|---|
| Audio Waveform Display | High resolution, customizable | Clear, integrated with timeline | Best-in-class for detailed analysis |
| Snapping to Beats | Requires manual marker placement | Automatic beat detection available | Native grid snapping |
| Motion Graphics Integration | Linked with After Effects | Integrated titles and effects | Basic, best for pre-vis only |
| Learning Curve | Steep | Moderate | Steep for musicians, easy for producers |
Building Your Own Rhythmic Workflow
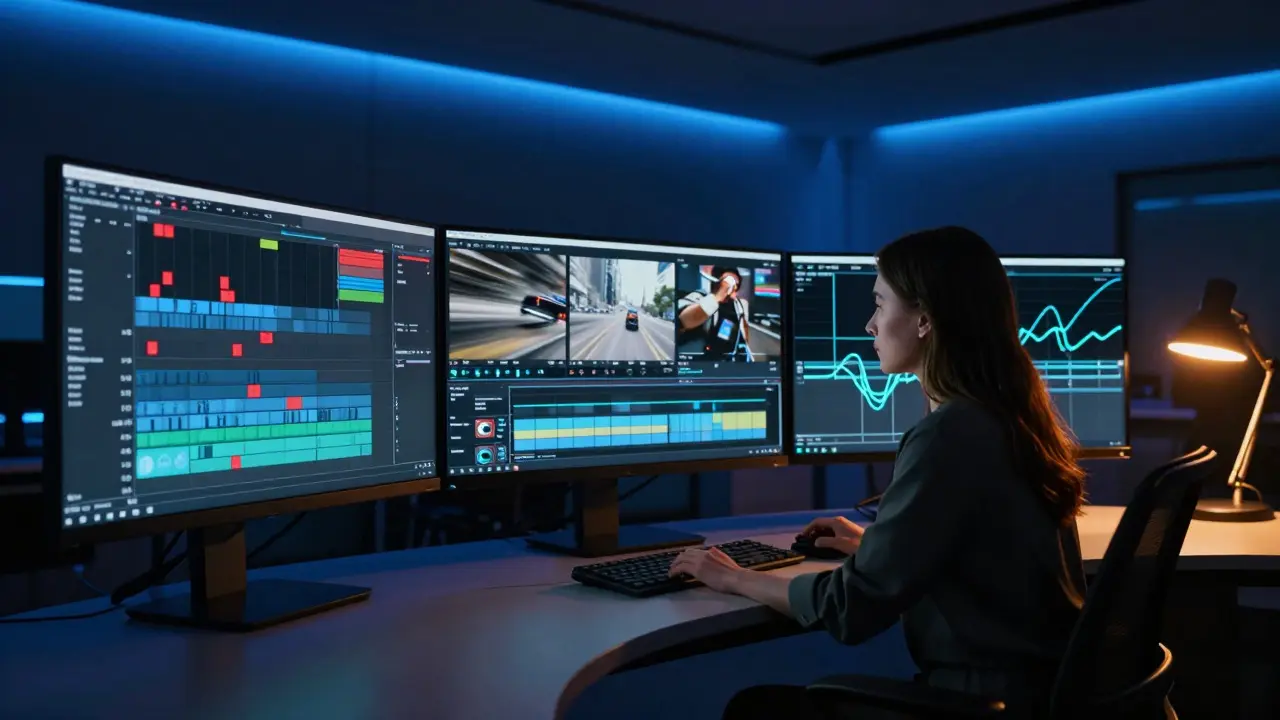
You don't need to be Alli Starr to apply these principles. Start small. Take a simple 15-second clip and a piece of music with a clear beat. Try to match three cuts to the kick drum. Then try to match one transition to a cymbal crash. Notice how the video feels more energetic and intentional. Gradually increase the complexity by adding motion graphics and varying the shot lengths based on the musical dynamics.
Practice is key. Watch your favorite music videos and pause them at random points. Ask yourself: Why did the editor cut here? Was it on the beat? Was it off-beat for effect? Did the camera move change direction with the bassline? By reverse-engineering professional edits, you train your eye to see the invisible connection between sound and sight. This skill will elevate your own work far beyond standard linear editing techniques.
Frequently Asked Questions
What is the difference between editing to the beat and editing to the bar?
Editing to the beat means cutting on individual rhythmic pulses, such as quarter notes or eighth notes. This creates high energy and urgency. Editing to the bar means cutting on the downbeat of a measure (usually four beats). This creates a steadier, more grounded feel. Most professional edits use a mix of both, depending on the section of the song.
Do I need to be a musician to edit to the beat?
No, you do not need to read sheet music or play an instrument. However, you do need to develop a sense of rhythm. Listening to music actively, clapping along, and using software tools to visualize the waveform can help you identify beats without formal training. Many successful editors rely heavily on visual cues from the DAW rather than auditory intuition alone.
Which software is best for analyzing music before editing?
Ableton Live and Logic Pro are widely considered the best for this purpose due to their detailed waveform displays and flexible grid systems. They allow you to place markers precisely on transients and export them as MIDI files or project files that can be imported into video editing software. For simpler projects, Audacity is a free alternative that provides basic waveform visualization.
How important is frame rate when syncing to music?
Frame rate is critical. A mismatch between your video frame rate and your audio sample rate can cause drift over time, where the cuts gradually fall out of sync with the beats. Always ensure your project settings match the source material. For most music videos, 24fps or 30fps is standard, but check the original recording specifications to avoid timing errors.
Can this technique be used for non-music videos?
Yes, although it is less obvious. In dialogue-driven films, editors often cut on sentence endings or pauses, which act as rhythmic anchors. In action sequences, the impact of hits or explosions serves as the 'beats.' Understanding rhythm helps create a more engaging flow in any type of video, not just those with a musical score.